Create Your First AI Agent
in Just a Few Minutes
This quick guide will walk you through how to create, train, and deploy your very first AI Agent.
No coding needed — just upload your knowledge and let Coniva do the rest.
Your Journey to AI-Powered Success
Login & Access
How to Get Started:
- 1Visit coniva.ai and click Sign Up to create your free account.
- 2After you complete registration, you'll be redirected automatically to your dashboard.
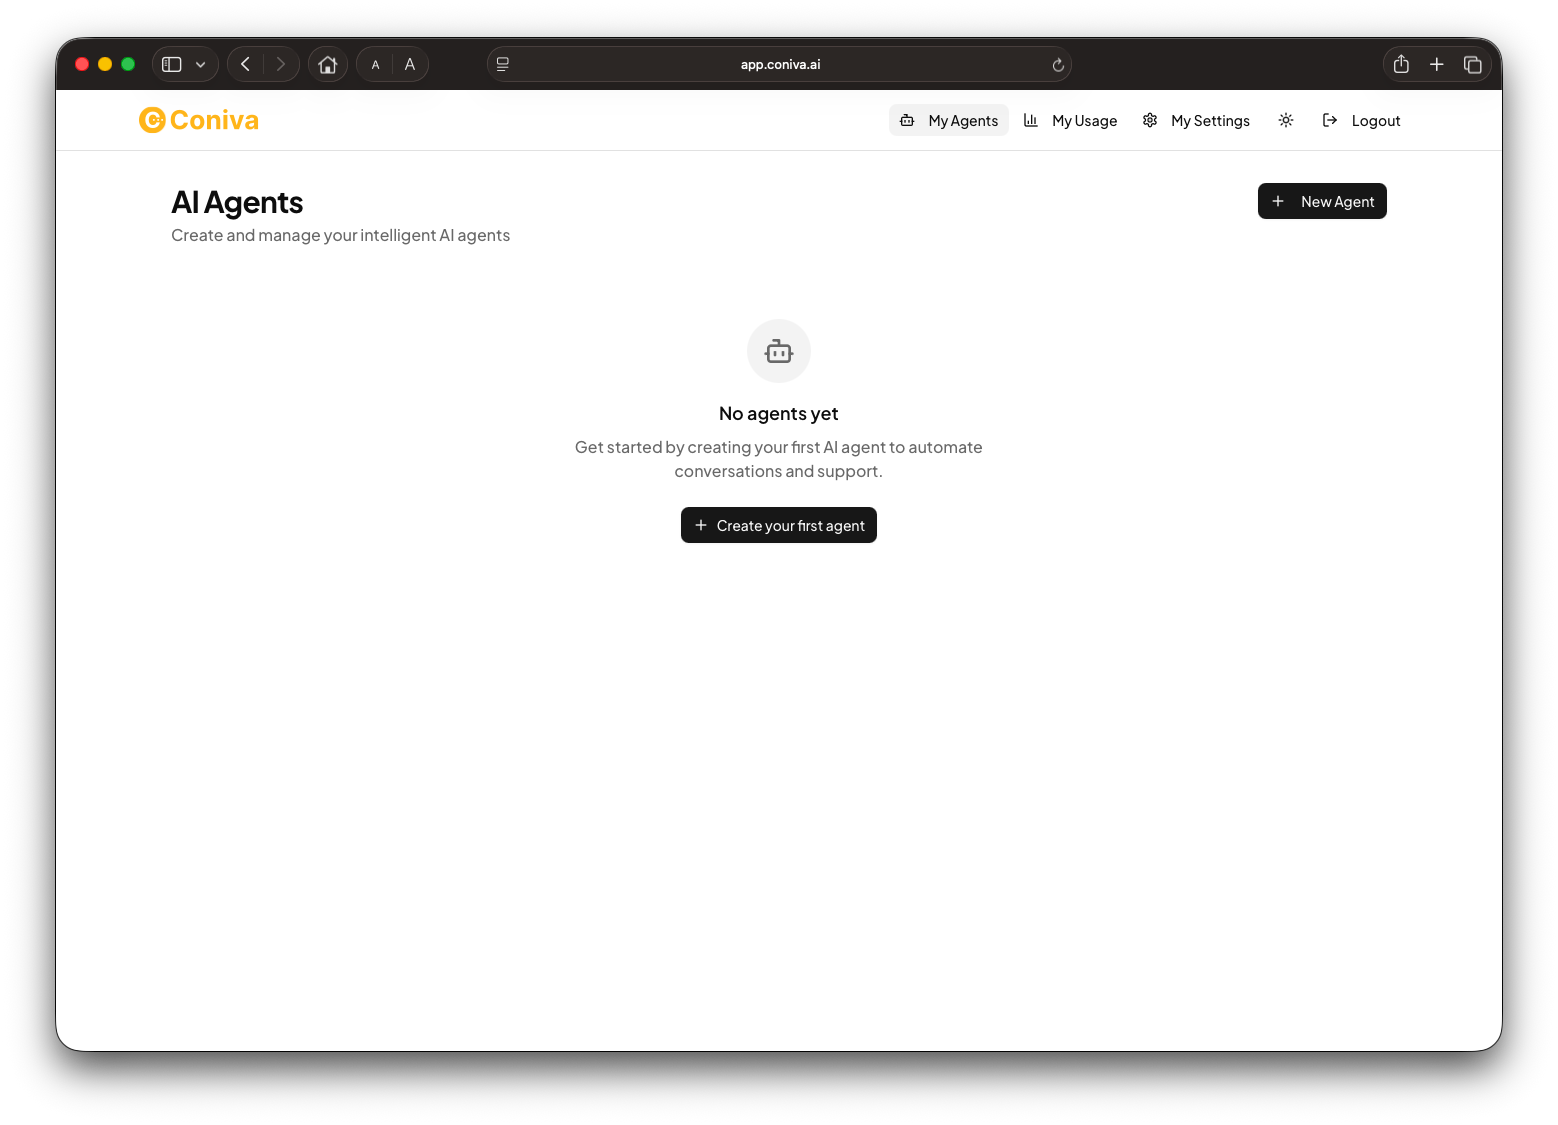
What you'll see:
- A clean interface with tabs for My Agents, My Usage, and My Settings.
- A Create Agent button to begin.
- A light/dark mode toggle in the top corner for your preferred viewing style.
Create Your First Agent
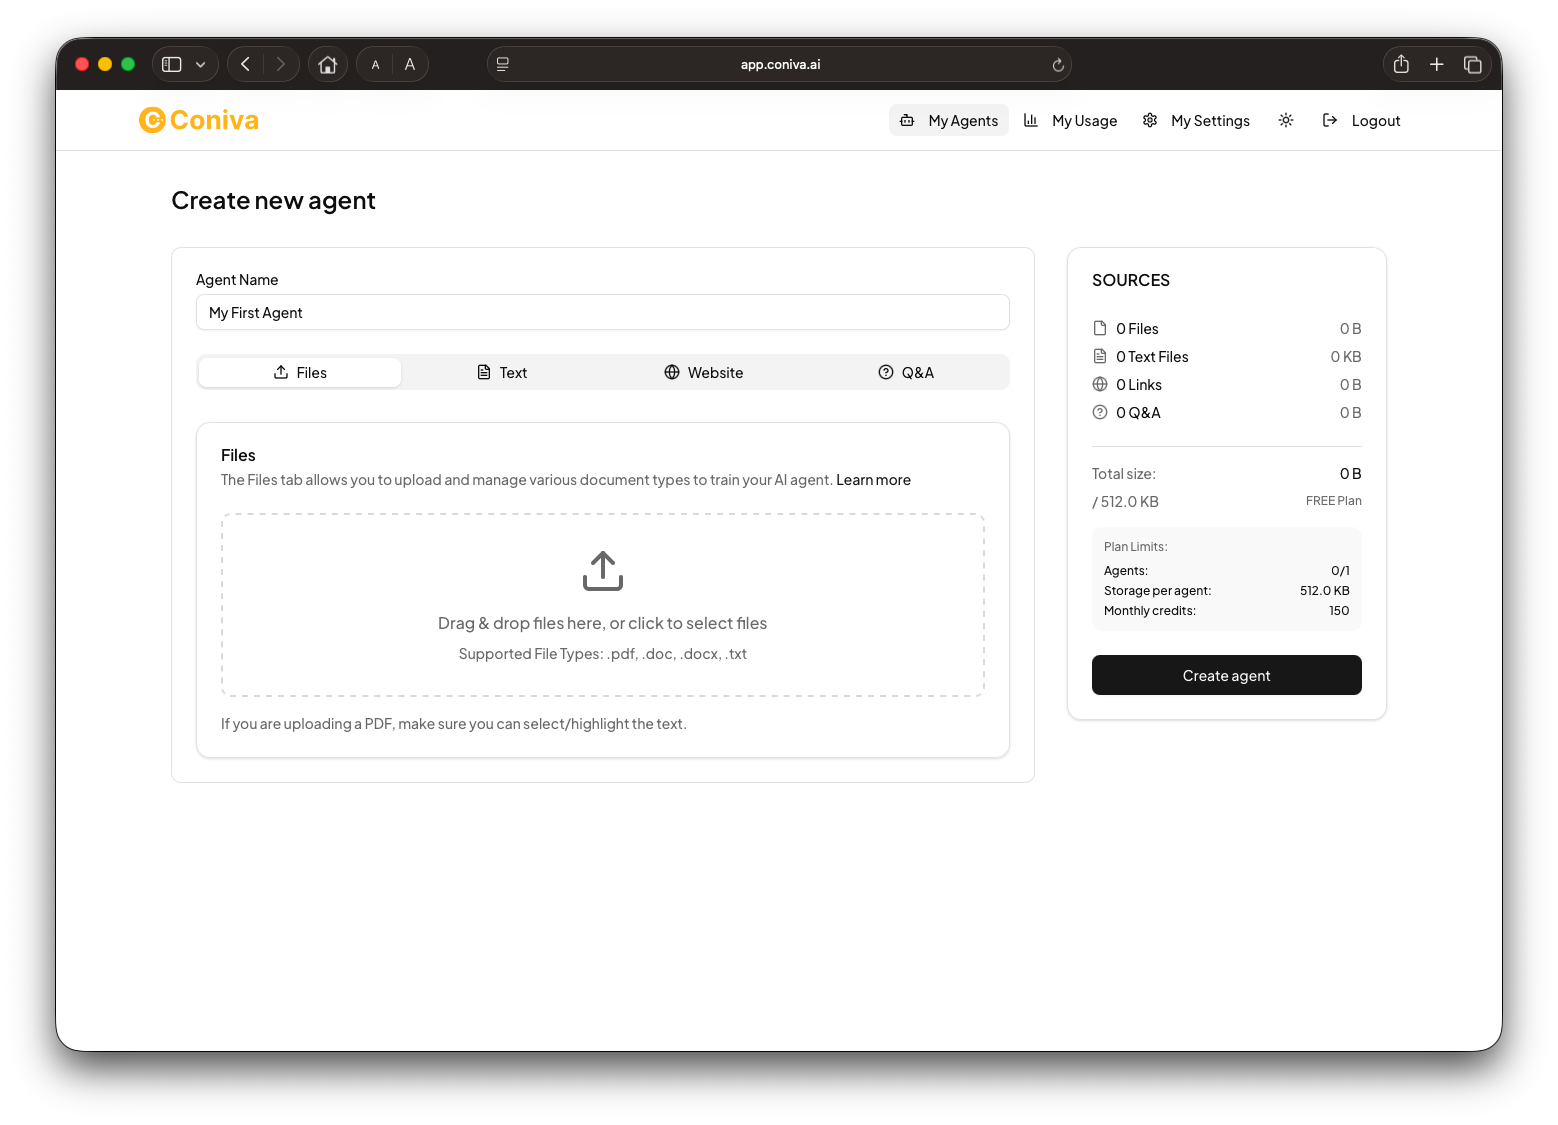
Click the Create Agent button.
You'll be asked to enter:
Once named, it's time to teach your agent!
Coniva offers multiple ways to upload your data. You can choose any combination of:
Upload Files
Upload .pdf, .doc, .docx, .txt files
Perfect for manuals, FAQs, or product guides
Enter Text
Type or paste content directly
Quick way to add specific information
Add URLs
Coniva automatically crawls your pages
Learn from your website content
Q&A Format
Enter common questions and answers
Train with your most asked questions
Pro Tip:
The more accurate and structured your information, the smarter your agent becomes. Less is more — keep only required and relevant information.
Train Your Agent
Under Agent Settings, you can enter more information and any Custom Prompts required. You can also select the LLM Model type.
Agent Role — Choose what your agent does:
Customer Service Agent
Handle support queries and provide instant assistance
Sales Agent
Engage prospects and drive conversions
Appointment Scheduler
Manage bookings and calendar integrations
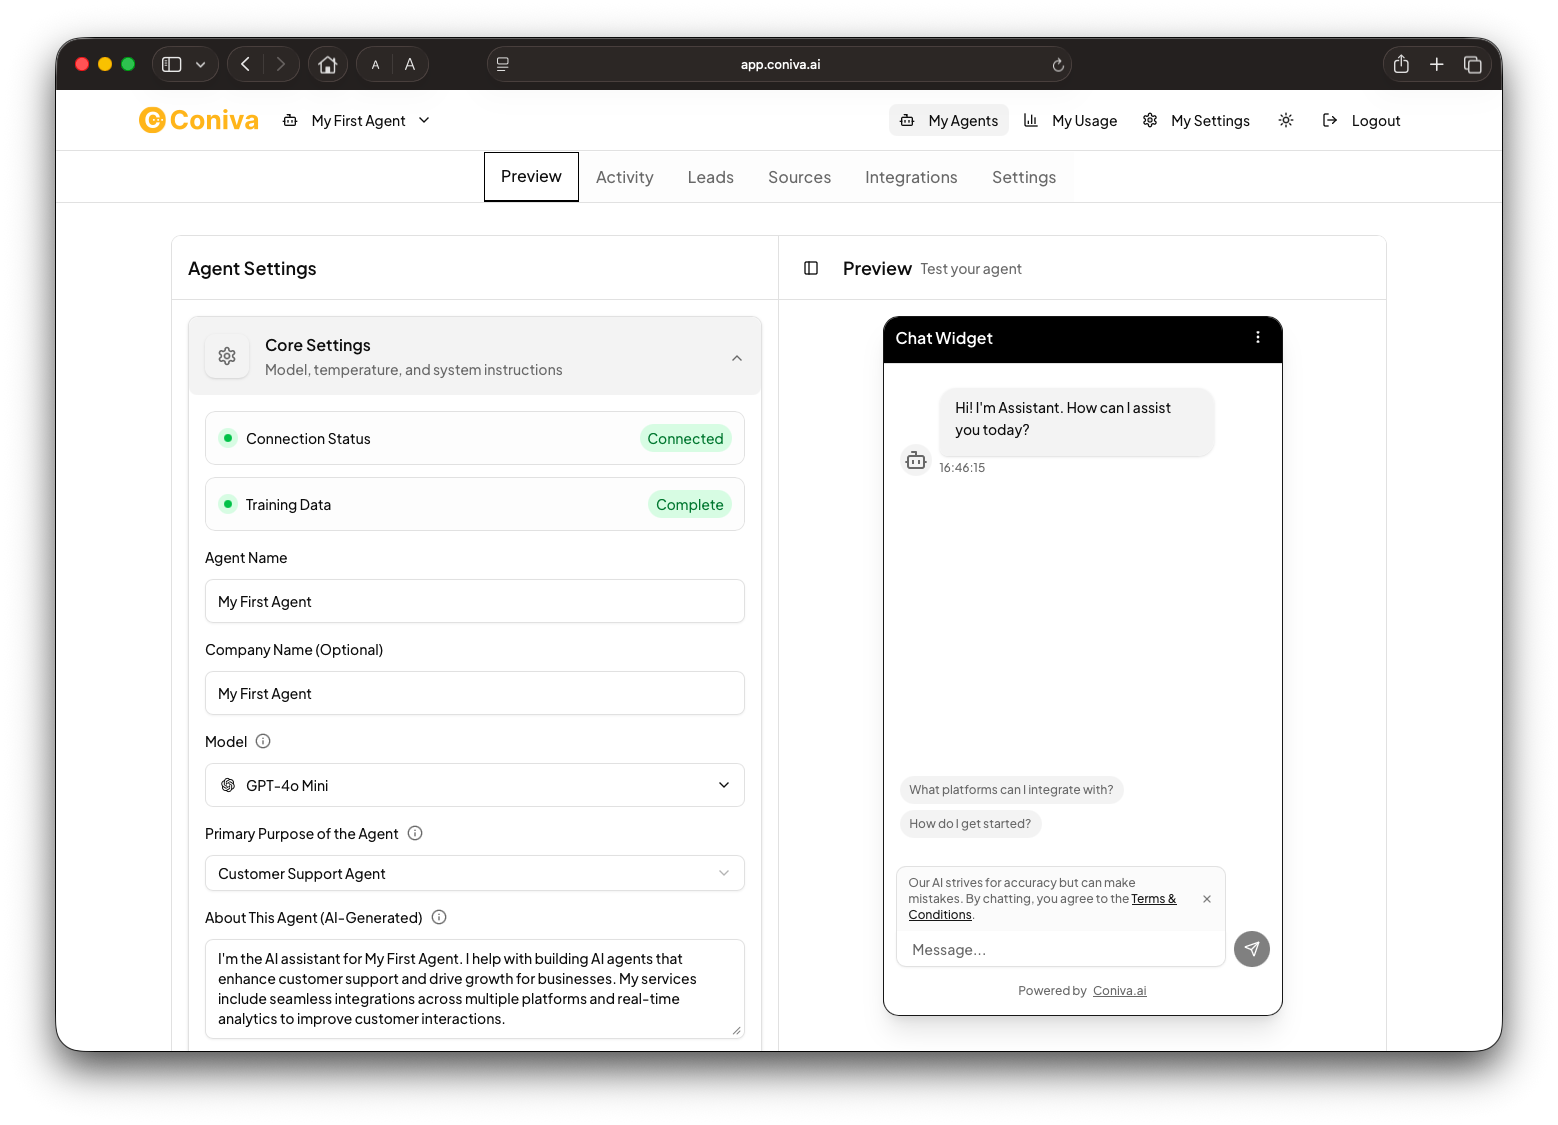
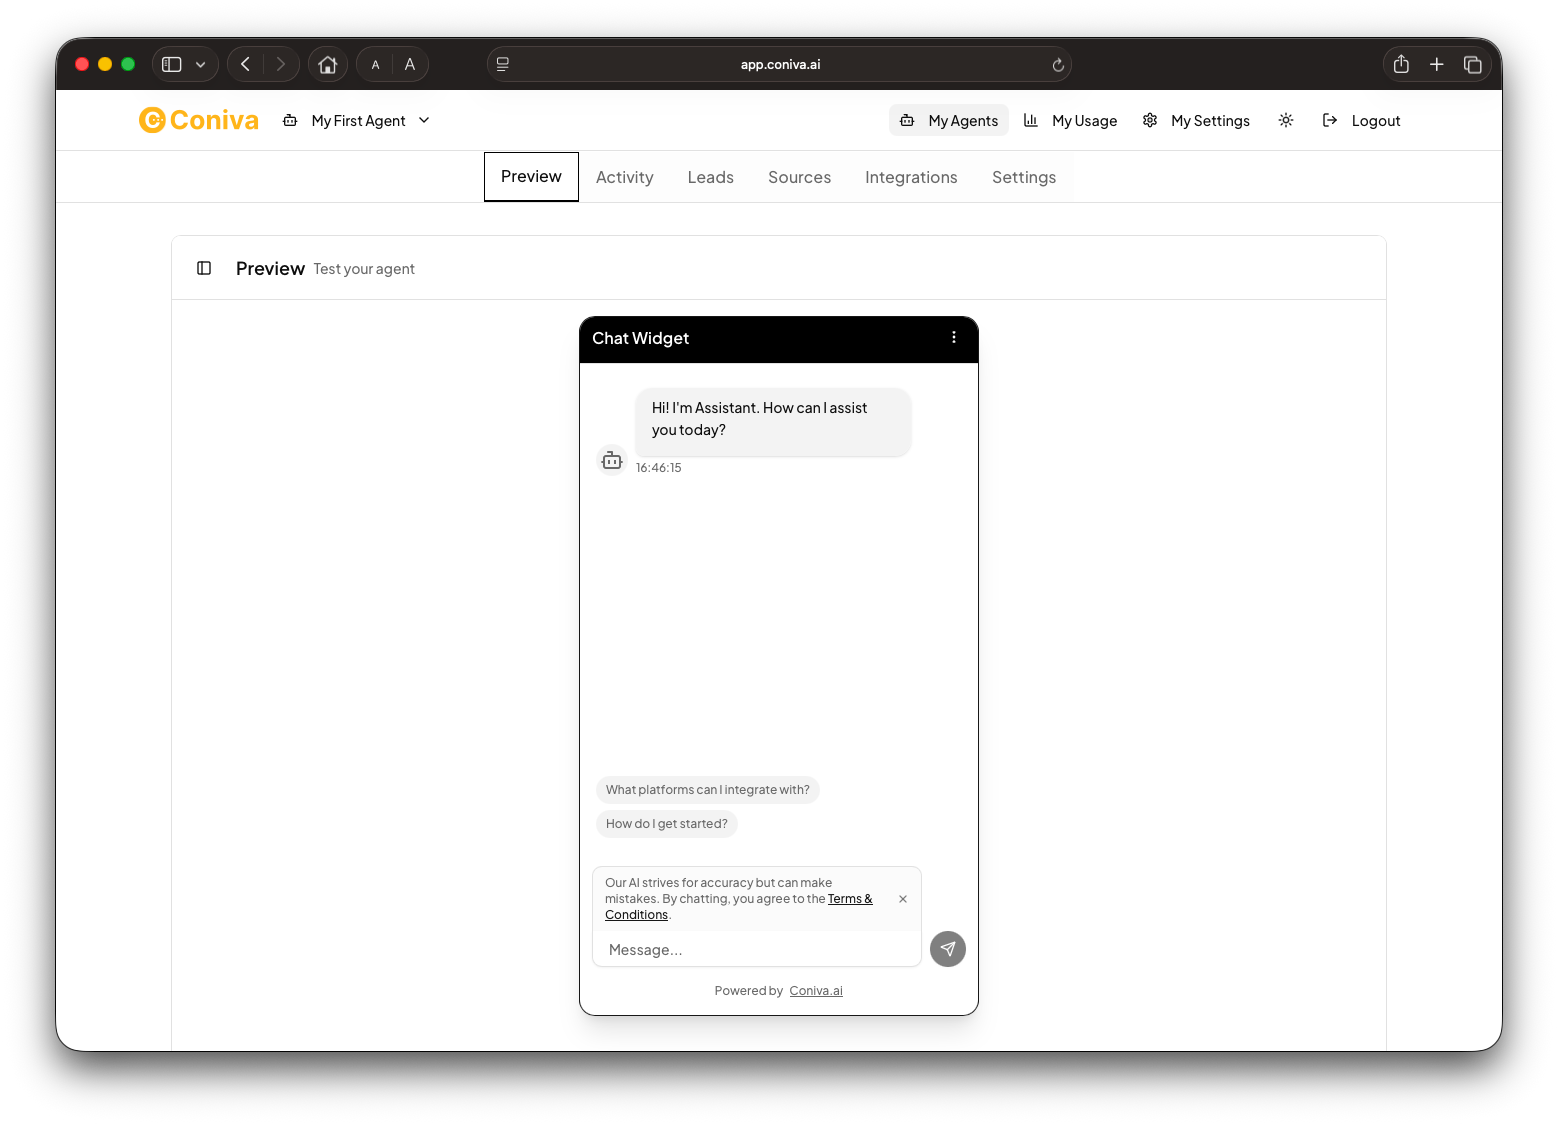
Test Your Agent
Before going live, you can interact with your agent using the built-in Test Chat Interface.
Here, you can:
- Ask questions and review how your agent responds.
- Adjust its tone or phrasing by editing the Custom Instructions.
- Re-train anytime if you add new data or change your brand's tone.
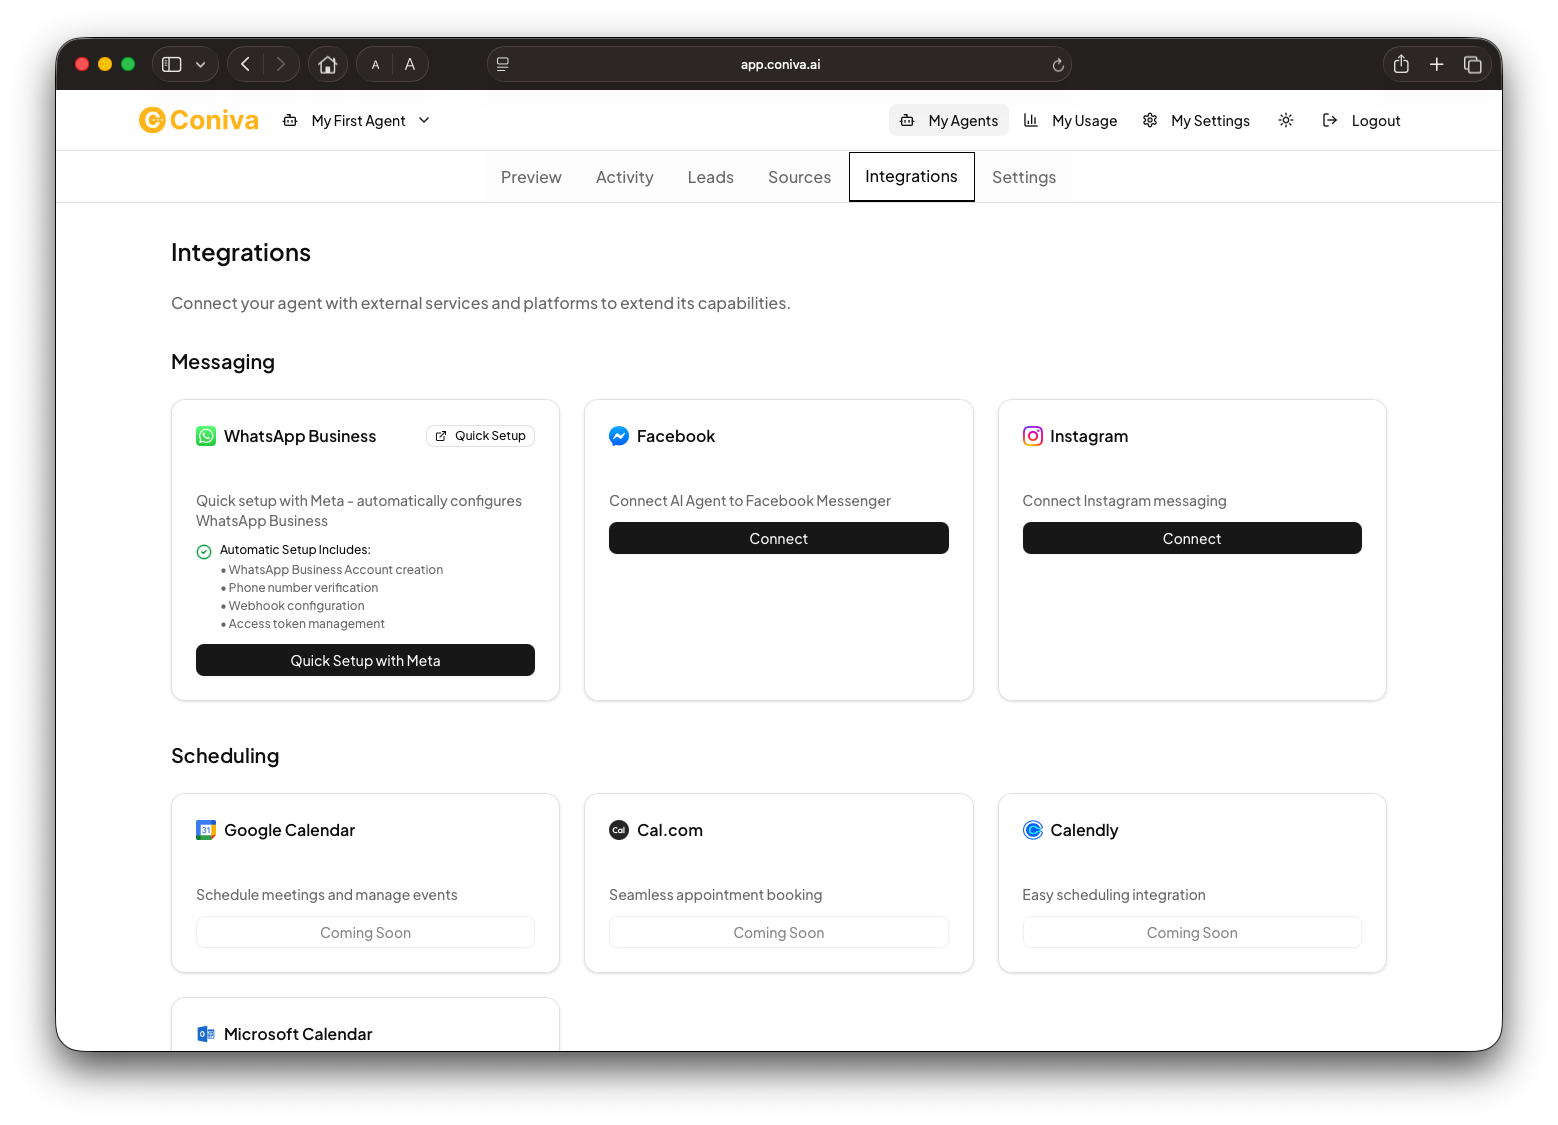
Deploy Your Agent
Once you're happy with your agent's performance, it's time to go live!
You can deploy via:
Website Widget
Get an embed code under "Publish" to paste directly into your site
WhatsApp, Facebook & Instagram
Connect through Coniva's integrated flows
API Integrations
HubSpot, Salesforce, Google Calendar, Zapier - Coming Soon!
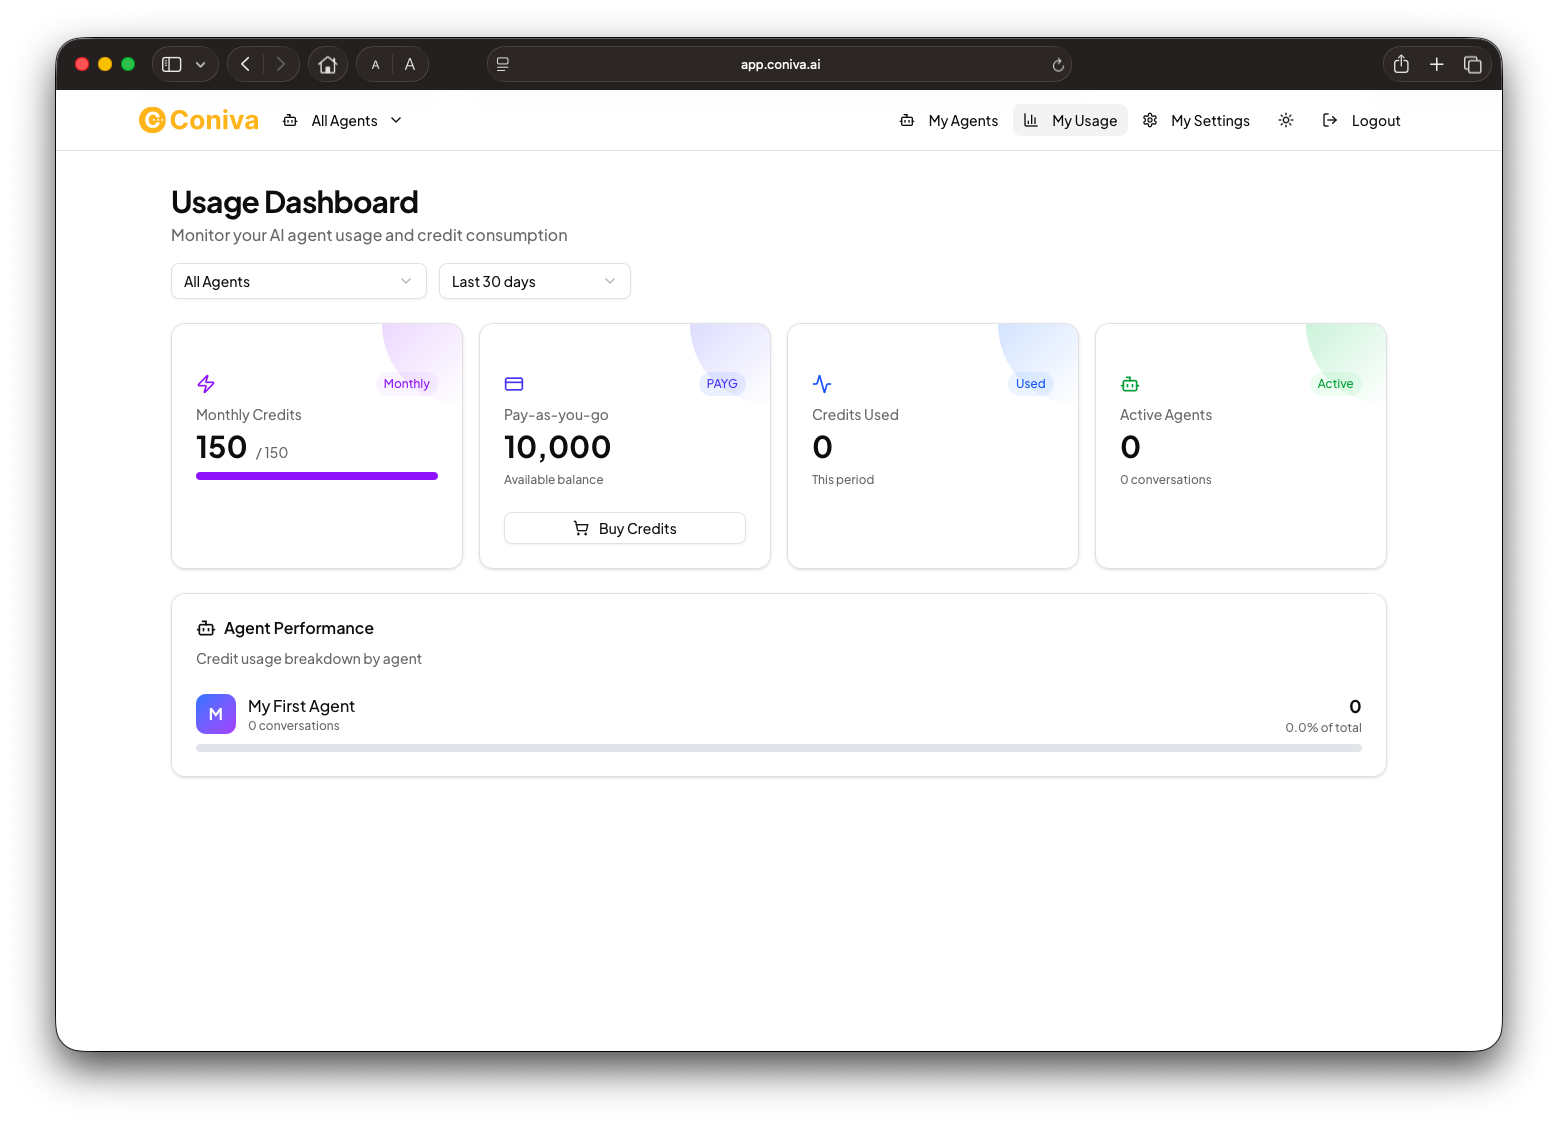
Manage Your Account
Keep track of your usage and tokens easily.
You're All Set!
Your first agent is live and ready to engage with your customers 24/7.
Explore advanced settings:
- Edit responses using Custom Instructions
- Track lead captures in future updates
- Manage account preferences in My Settings
Quick Tips for Best Results
Start Small
Upload your most frequently asked questions first
Test Regularly
See how the AI learns and improves over time
Stay Consistent
Use your brand's voice and style when editing instructions
Troubleshooting
If you encounter issues:
- Check your token balance under My Usage
- Ensure uploaded files are within supported formats (.pdf, .doc, .docx, .txt)
- Contact support via hello@coniva.ai for assistance
Ready to Get Started?
Create your first AI agent in minutes and transform your customer experience.
Start Building Now